-
Instructions to cure Print Manager problems
-
- Use the online update facility in the Relux program group to ensure the latest version is installed
-
- Using 'File Explorer' go to the Relux Suite installation folder and find the subfolder 'Print'
default path is C:\Program Files (x86)\ReluxSuite\print
Right click on the file 'Pdfinst.exe' then select 'run as administrator' - Using 'File Explorer' go to the Relux Suite installation folder and find the subfolder 'Print'
Please use the following sequence, check after each stage to see if the problem is cured:
- 1 Update the program to the latest version.
- 2 Re-install the printer with File Explorer
- 3 Re-install the printer from a command shell with administrator rights.
-
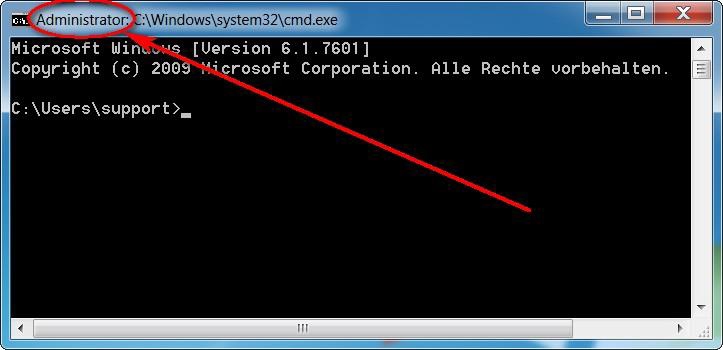
- Open a command shell with administrator rights:
- Press keys [Windows]+[R]
- Type "cmd"
- Press keys [Ctrl]+[Shift]+[Enter]
- Type "cmd"
- In the command shell window:
- cd C:\Program Files(x86)\ReluxSuite\print
- type "install.bat" press key [Enter]
- Close the command window
- type "install.bat" press key [Enter]
- Use the command 'cd' to navigate to the folder 'ReluxSuite\print'
- Press keys [Windows]+[R]
- 4 Add a new port named nul: to the pdf printer.
-
- Open the Windows Control Panel (Start -> Control Panel) and choose the section "View devices and printers".
- Select "Printer properties" from the context menu (right mouse click) of the Relux PDF Printer.
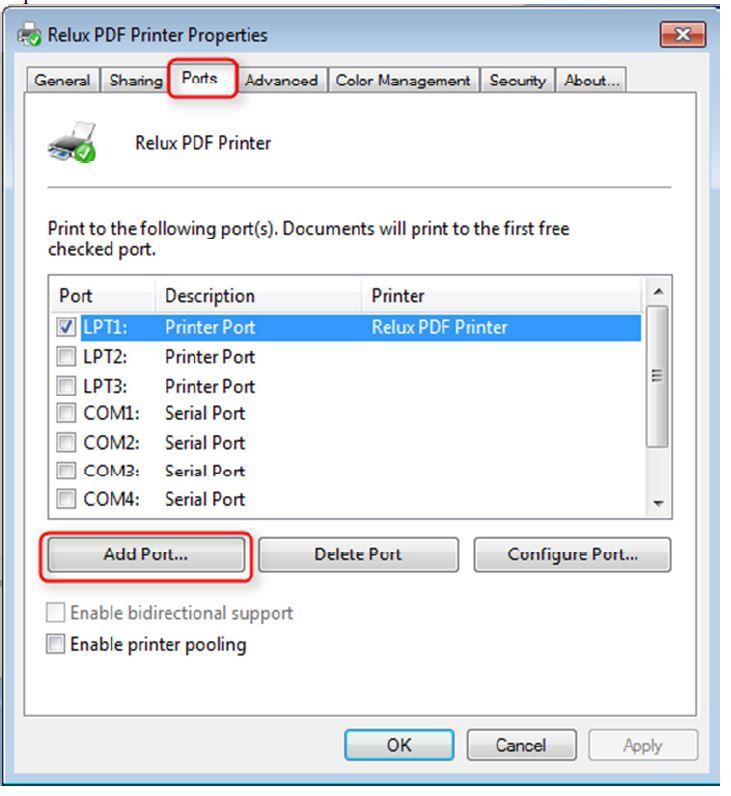
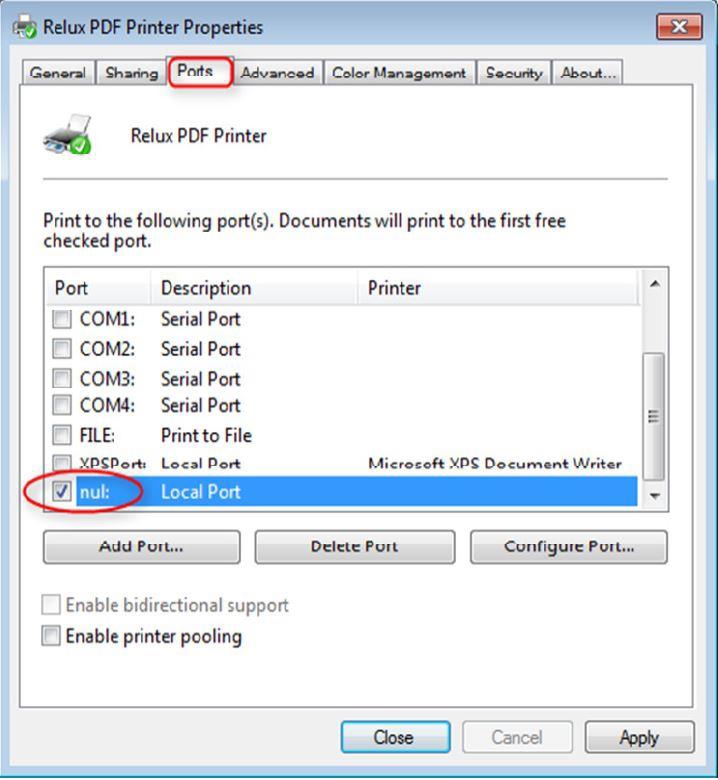
- Select the tab "Ports"
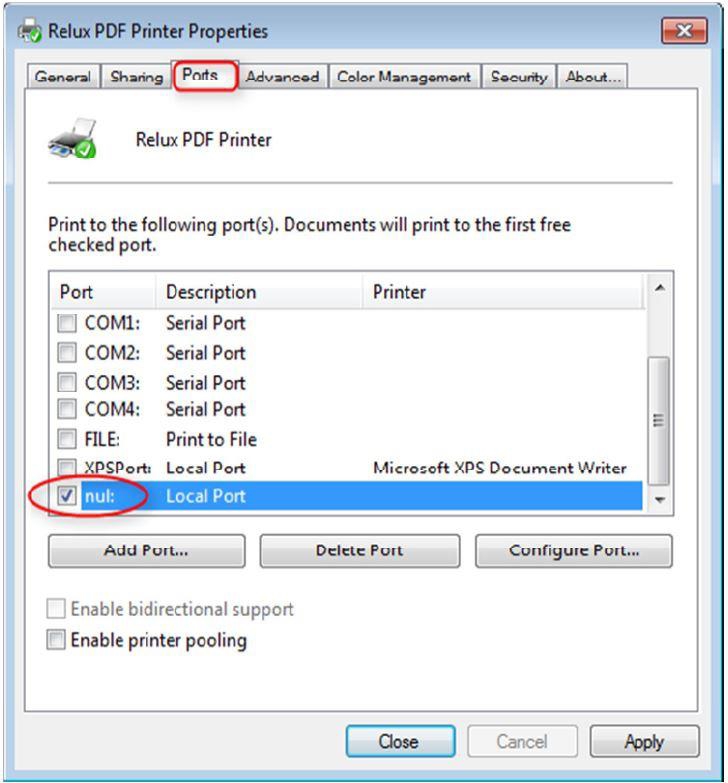
- Check if there is a port "nul:" and if it is selected.
- Follow the instructions in the matching section A, B or C.
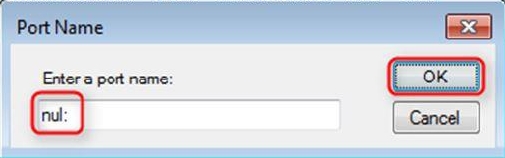
- If port "nul:" does not exist click "Add Port...".
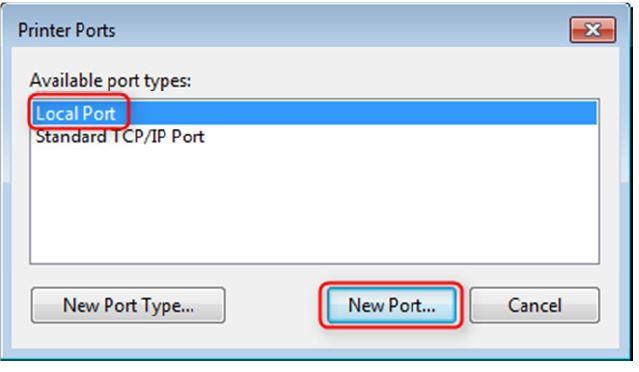
- Now select "Local Port" and confirm with the button "New Port...".
- Name the port "nul:" and confirm with "OK".
- If the problem still remains follow the instructions in section "C: Port nul: exists and is selected".
- Now select "Local Port" and confirm with the button "New Port...".
- A: Port "nul:" does not exist
- B: Port "nul:" exists but is not selected
- Select port "nul:" and confirm with "Apply".
- If the problem still remains follow the instructions in section "C: Port nul: exists and is selected".
- C: Port "nul:" exists and is selected
- Select the tab "Advanced".
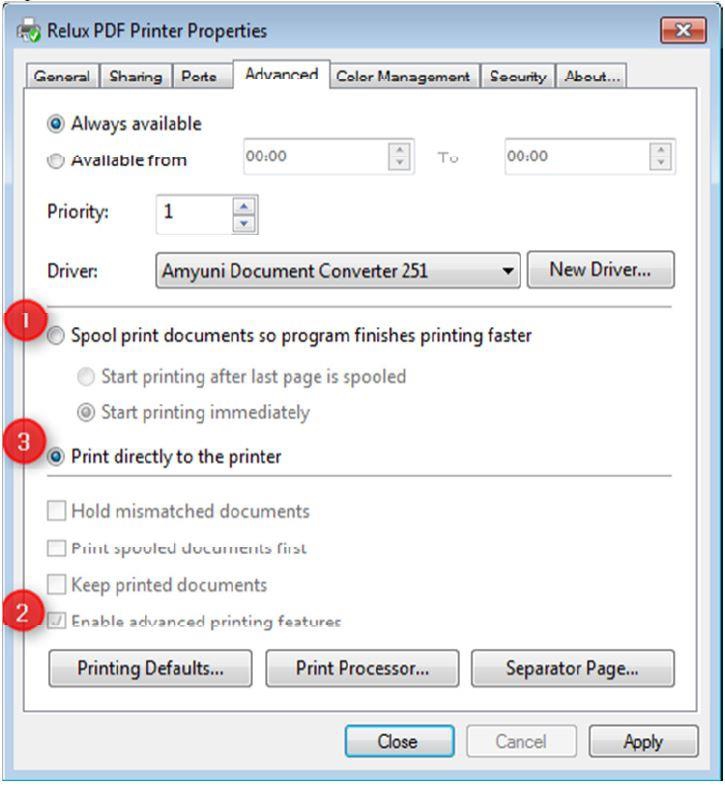
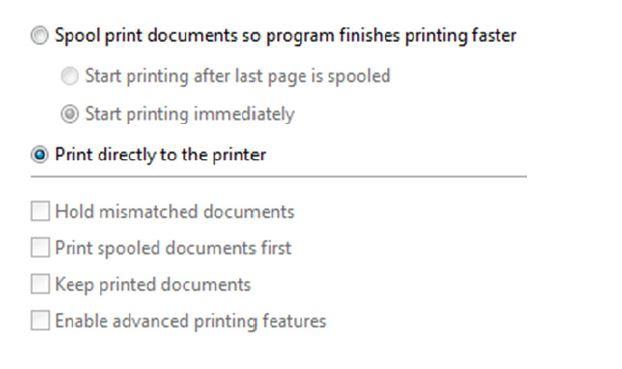
- 1 Uncheck "Spool print documents...."
- Uncheck "Enable advanced printing features"
- Check to "Print directly to the printer"
- In the end the tab "Advanced" should look like this:
- 1 Uncheck "Spool print documents...."
- Open the Windows Control Panel (Start -> Control Panel) and choose the section "View devices and printers".